Destiny 2 The Coil Guide: Paths, Difficulty & Rewards
Learn where to launch The Coil, prepare for escalating paths, compare current Ops reward grades and find clearly labelled legacy chest landmarks.
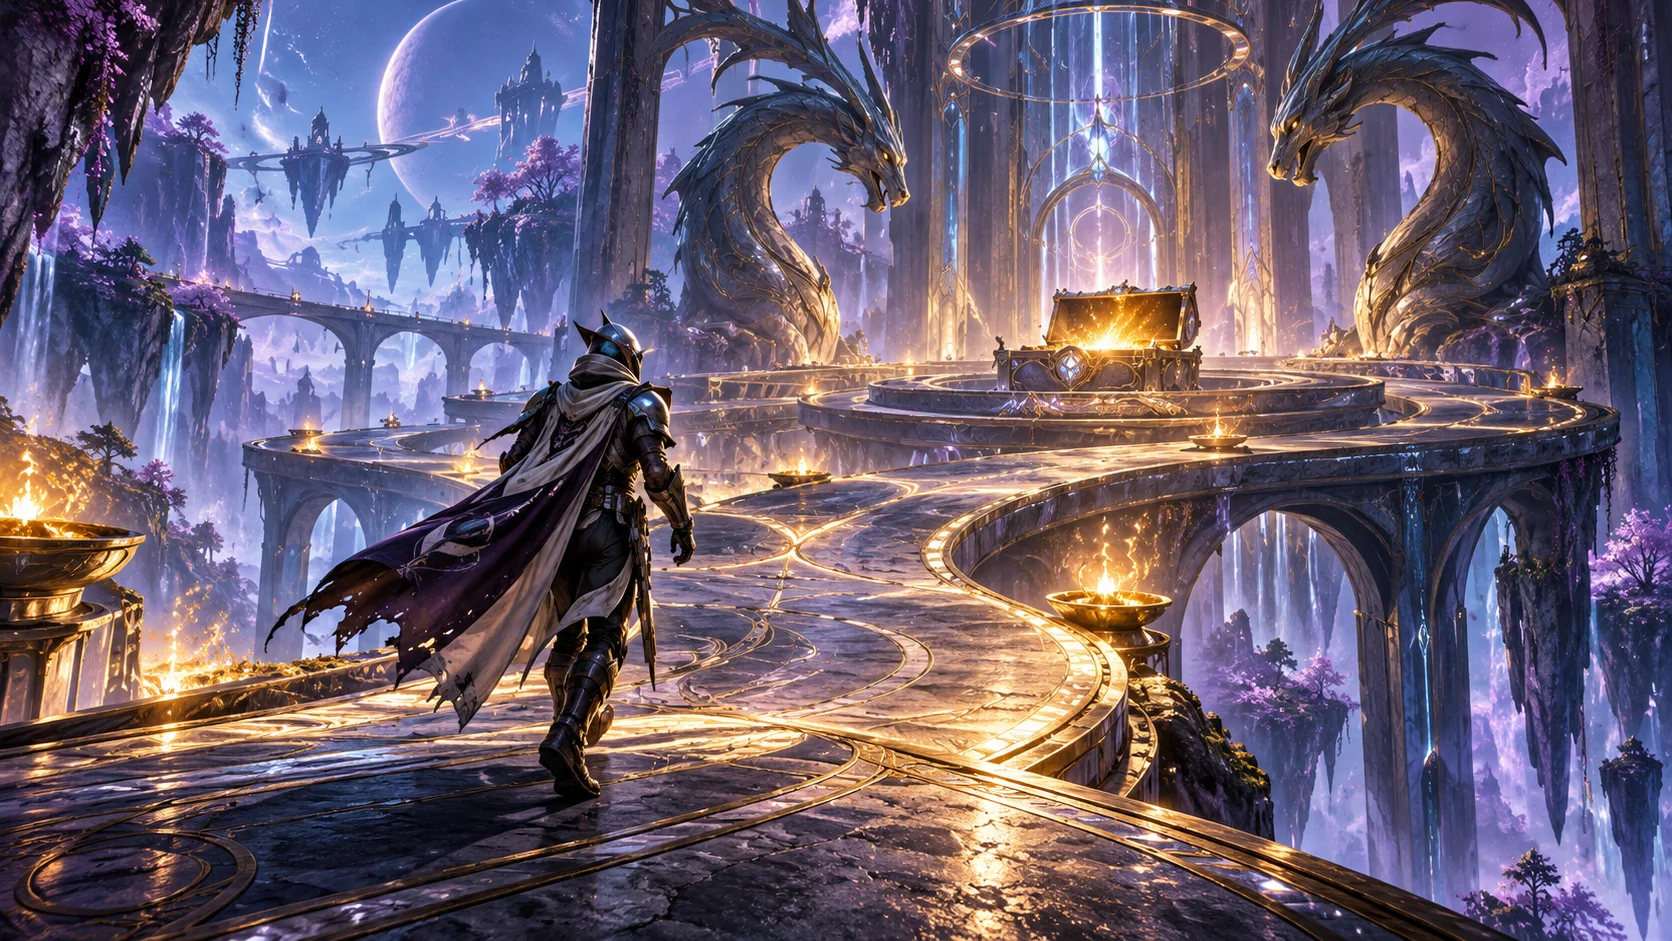
The Coil rewards a fireteam that can handle a sustained sequence of encounters, not just one strong damage phase. This guide explains the current activity entry point, how its difficulty builds, how to prepare for repeated paths and how to use older chest directions without confusing them with today’s reward rules.
Where to launch The Coil now
Open the Director’s Destinations tab, then Pinnacle Ops and The Coil. Update 9.7.0 retired the separate Portal screen and moved Ops into the Director. Read the activity’s selected difficulty and modifiers before launch. Bungie’s shipped patch notes.
Agree on the goal before matchmaking or inviting teammates: learning the rooms, completing the activity or aiming for a particular reward grade. Those goals can require different preparation. A lower-stress first clear is useful practice before committing to a harder full run.
Why an easy first path does not mean an easy clear
The current Coil starts below the selected difficulty and gets harder as the run progresses, reaching that selection later. Mid-activity and completion chests now include reprised World Pool rewards. Current Coil changes.
Bungie’s May 2026 preview illustrates a Grandmaster run stepping through challenges resembling Advanced, Expert and Master before Grandmaster. The shipped notes confirm the escalating system, rather than specifying every path count. The developer explanation.
Our recommendation is to choose a loadout for the difficult end of the activity. If the first room feels comfortable, keep the same disciplined positioning for later encounters. Avoid using the opening fight as the only test of whether your team is ready for the selected challenge.
Prepare a loadout for the whole run
Cover these jobs before launch
| Job | Bring an answer | Check with the team |
|---|---|---|
| Survival | A reliable way to recover and fight from cover | Who can keep helping when another player is down? |
| Groups of enemies | Efficient sustained damage against multiple targets | Can everyone contribute without spending all heavy ammo? |
| Boss damage | A dependable damage option plus a backup | Can you survive long enough to use it? |
| Selected modifiers | Weapons and abilities suited to the activity card | Does anyone need to change equipment before launch? |
This is preparation advice, not a mandatory build. Use weapons you can handle consistently. A theoretically stronger setup loses its value if you cannot manage its range, reloads or recovery while learning the rooms. In a group, avoid assigning every player the same narrow job and leaving an obvious gap.
A repeatable path-by-path approach
The original activity alternates traversal, combat and boss encounters, with Riven offering upgrades between pathways. Its traversal rooms use three activation plates to open the exit. That dated walkthrough also describes Wishing Glass gathered from pots and used for upgrades and chest access. Season of the Wish walkthrough, November 2023.
- At a traversal section, read the room objective before rushing for the exit. Locate required plates and let teammates finish checking the route before moving on.
- Enter combat together. Clear immediate threats and find usable cover before committing to an exposed damage position.
- If a target is immune, inspect the objective and any named buff. More ammunition will not solve a missing encounter mechanic.
- At a reward or upgrade stop, collect what is available and read the choices. Favor a benefit your build can actually use over a bonus that needs equipment you did not bring.
- Before continuing, check the team’s remaining resources and keep a damage option ready for the harder encounter ahead.
When the team struggles, identify where the run broke down. Repeated traversal deaths suggest slowing down and learning the route. A boss stall suggests an unresolved mechanic or weak sustained damage. Enemies overwhelming everyone suggest that the team needs better recovery, positioning or group control. Change the relevant part of your preparation rather than replacing the entire build at once.
Hidden chests: landmarks from the original layout
These are compact landmarks from the 2023 layout, not a verified map of every chest in the current reprise. Match the room name before following them; use the linked illustrated guide for the original images.
Legacy room landmarks
| Room | Places to check |
|---|---|
| Splintered Geode | Right of the entrance-side plate; behind a cleansing plate toward the back-right; a high arch on the far-right wall |
| Fetid Conduit | Left of the middle plate; a cave near the exit and third plate; an arch beneath the path in the second room |
Original illustrated chest locations. Old chest access and shard-score requirements belong to that version. Do not substitute them for the current Ops reward grade shown in your activity. Searching an optional side area should not prevent your team from completing the main objective.
Difficulty, reward grades and what a chest means
Update 9.7.0 gives each difficulty a baseline reward grade, assuming normal kills and objective completion. The Ops reward framework is below; it is not a promise that every intermediate chest contains the same tier or a particular weapon. Shipped scoring and reward rules.
Ops baseline rewards
| Difficulty | Grade | Reward tier |
|---|---|---|
| Normal | B | Tier 1 |
| Advanced | B+ | Tier 2 |
| Expert | A | Tier 3 |
| Master | A+ | Tier 4 |
| Grandmaster | S | Tier 5 |
| Ultimate | S+ | Tier 5 |
Treat your farming goal as a named item, perk combination or reward grade. After a run, compare that goal with what you actually received. An intermediate chest is useful progress, but it is not the same as completing the activity or obtaining the exact roll you wanted. An old Season of the Wish loot list also should not be read as an exclusive list of current drops.
The Coil questions
Frequently asked questions
What should a first-time team prioritize?
A consistent clear. Learn the traversal objectives and boss mechanics, then increase the challenge once the team can finish without repeated avoidable mistakes.
Should I copy a launch-era Platinum farming route?
Use it as historical context. Check the current activity card and reward grade first; old shard thresholds and loot tables are not a complete description of the reprise.
Does this guide show every current secret chest?
No. It provides clearly labelled landmarks from the original layout alongside guidance for the current activity. It does not claim every current room or chest was independently checked.
Why am I struggling after a comfortable opening?
Prepare for the later encounters, keep recovery and sustained damage available, and review the specific mistake that ends the run before increasing difficulty again.
For other progression goals, read the Pale Heart guide, Kepler guide or current Whisper guide. Browse Destiny 2 services and more Destiny 2 guides.
Sources and review date
Reviewed October 13, 2026. Current navigation, difficulty and reward guidance follows shipped Bungie patch notes. The developer preview explains the intended difficulty curve; the dated illustrated walkthrough supplies legacy traversal and chest landmarks. Team-preparation recommendations are our editorial advice.