Destiny 2 Equilibrium Guide: Encounters, Loot & Solo
Plan Equilibrium with a three-player setup, Harvester, Harrow and Sere mechanics, weapon rewards, solo conditions and the correct dungeon service scope.
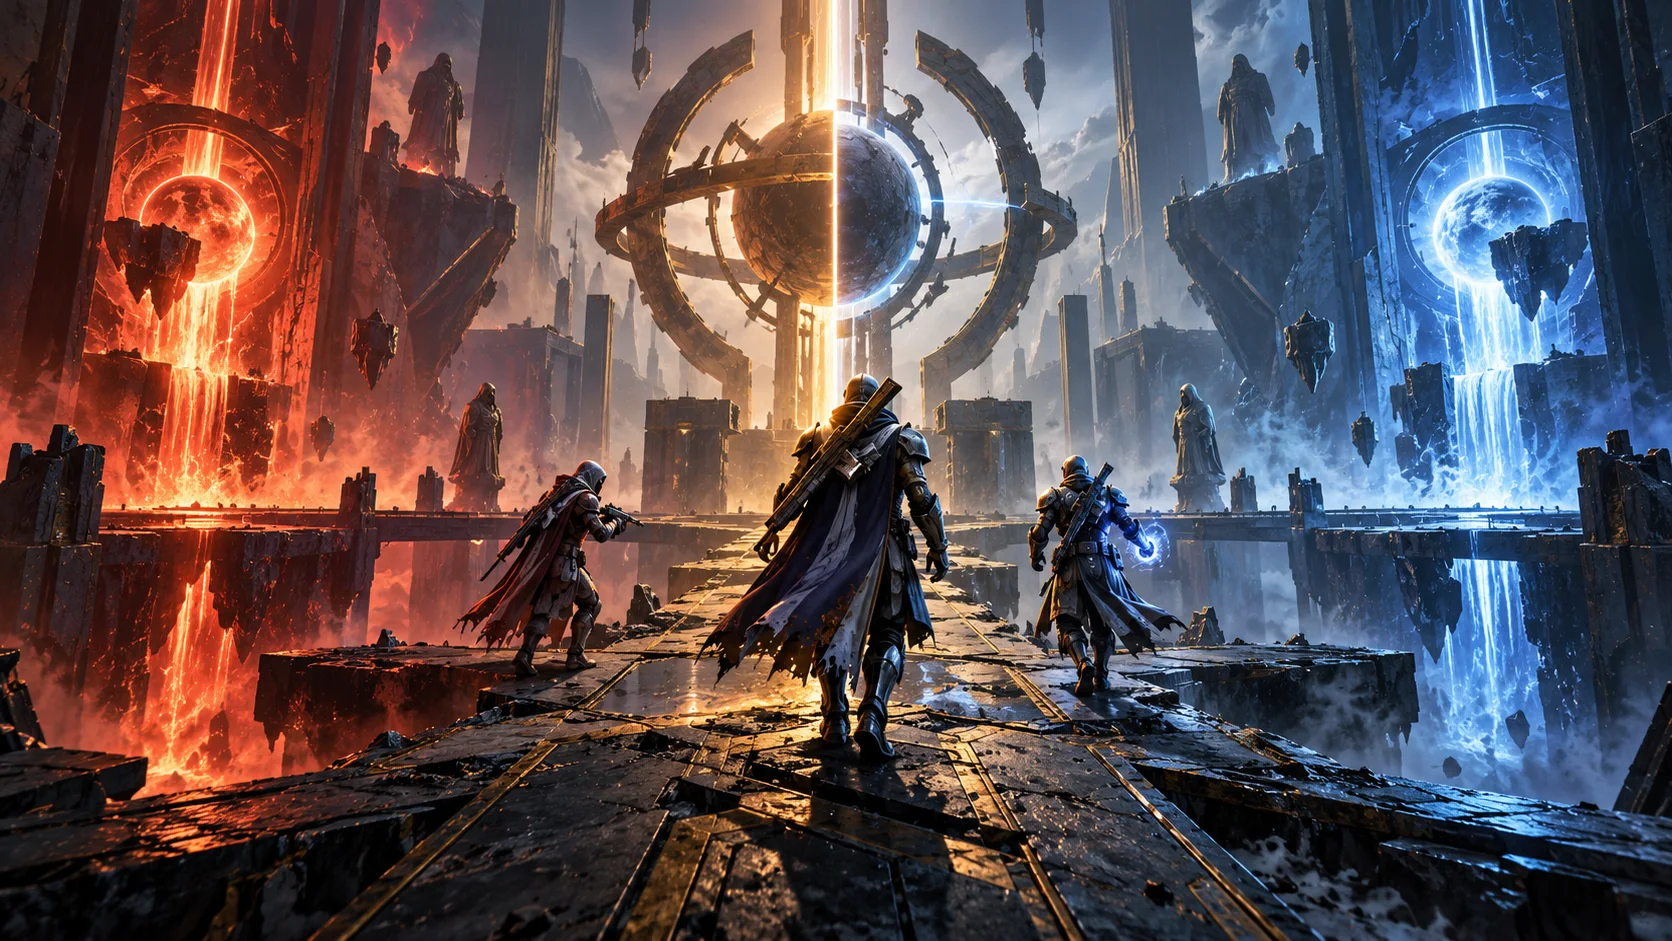
Equilibrium is a Destiny 2 dungeon with three encounters: board the Harvester, defeat Harrow, then defeat Dredgen Sere. The clear, a solo Triumph, Heirloom acquisition and the optional quest route are different goals. Choose the result you want before planning the run.
Reviewed October 15, 2026. This guide gives a compact encounter overview, an original three-player responsibility plan, the current weapon collection and the scope of CFNBoost’s dungeon packages. Player accounts support the mechanics; Bungie definitions and publications support activity, item and reward details.
Equilibrium Access and Fireteam Size
The current Standard activity supports one to three players with matchmaking off. Share reading, movement and enemy-control duties across your fireteam. Check the launch card for your current difficulty and entry state. Current activity definition.
Bungie’s current access guidance retains expansion or Dungeon Key ownership for the corresponding activities. The original Equilibrium announcement describes Renegades and starting The Way Between with Aunor. Check your own quest and ownership; the December 2025 Contest launch requirements are historical, not a reason to apply its old Power target or forced three-player launch rule to Standard today. Current access guidance. Original dungeon announcement.
For the wider weekly gear plan, use the Raid and Dungeon Rotation Guide. Decide whether you want a full clear, a final-boss checkpoint or an uninterrupted solo objective before arranging a group.
A Practical Plan for Three Guardians
Three-player responsibilities
| Responsibility | Main focus | Useful handoff |
|---|---|---|
| Mechanic lead | Track the next interaction and explain the agreed route. | Name the next action before moving. |
| Room control | Keep enemy pressure manageable and help a teammate recover. | Say when the team needs to pause. |
| Timing and damage | Track readiness, ammunition and the team’s next damage setup. | Confirm everyone is ready before committing. |
These are suggested jobs, not class restrictions. Swap them when someone needs practice. For a first clear, rehearse a short sequence and let every player repeat the next step back. In a duo or solo attempt, combine the same responsibilities into a manageable order.
Board the Harvester
- Start at the central ship. Lure an Apprentice’s charged attack into an extended connector to open a barrier.
- Ride the opened vehicle route and collect Shadow pools until Shadow Novice is active.
- Use Shadow Power against a charging Apprentice, then defeat the exposed enemy.
- Finish six Apprentices and the remaining Behemoths; avoid the drop-pod landing zones.
- Collect the reward and board the ship.
Firsthand opening-encounter walkthrough.
For practice, learn one safe return route before trying to optimize it. Let the returning player say when they are ready, and have the others stabilize the arena. A controlled extra attempt is more useful than repeatedly rushing an interaction nobody has confirmed.
Harrow: Outer Rooms, Shield and Final Stand
- Defeat Lackeys for pools and reach Shadow Apprentice.
- Activate three panels in each of the three outer rooms; check the completion lights.
- Return together. Interrupt Harrow’s charged blast with Shadow Power.
- Lure Harrow into opened Arc pits or an activated conductor to reduce his shield; use Shadow Power during his exposed recovery.
- Damage him when vulnerable. Repeat as needed, then follow his retreat for the final stand.
Player-tested Harrow sequence and recovery notes.
Agree a consistent room order and a backup caller. If the sequence stops advancing, check your buff, the room’s lights and the boss state before repeating every action. Focus on completing a clean setup before measuring damage; changing several parts of the plan at once makes a failed attempt harder to learn from.
Traversal Between the Bosses
Between encounters, regroup at the all-player door, shoot the cargo-bay fuses and keep clear of trapped vents. Later, use Shadow panels and the moving-platform route to reach the high pipe. These are route landmarks, not a room-by-room collectible walkthrough. Firsthand traversal landmarks.
Let a teammate finish an unfamiliar jump before pushing onward. Keep the route and optional detours separate in your callouts, and agree whether the group is stopping for extras. A base clear should not quietly turn into an unplanned collection session.
Dredgen Sere: Two Realms and Arc Coils
- Build Shadow while defeating Apprentices to expose the Material realm’s central orbs.
- With Shadow Master, Compel a Blistered Shadow; rebuild the rank for the next. Killing is an alternative with different damage-phase effects.
- Use the panels to reach the elevated Shadow and resolve the Ascendant orbs.
- Retract lowered Arc coils through their panels before destroying the final orb.
- Resolve all ten orbs across both realms, damage Sere, and repeat if needed. Shoot glowing hands to interrupt lightning.
Firsthand realm and coil explanation.
Before an attempt, agree who tracks the next action and who calls that the team is ready. If a player falls behind, say so early. Choose a repeatable learning route first; damage optimization can wait until the group can reach its intended setup consistently.
Equilibrium Weapons and Reward Planning
The current collection identifies six Legendary weapons and Heirloom as Equilibrium rewards. This is a dungeon-wide weapon list, not an encounter-specific drop table or a promise that a chosen weapon drops on every clear. Current weapon and collectible definitions.
Weapons recorded with Equilibrium as their source
| Weapon | Type | Goal to plan |
|---|---|---|
| Zealous Ideal | Auto Rifle | Check the roll you want. |
| High Tyrant | Pulse Rifle | Check the roll you want. |
| Voltaic Shade | Scout Rifle | Check the roll you want. |
| Conspiracy Honed | Sniper Rifle | Check the roll you want. |
| Bitter End | Machine Gun | Check the roll you want. |
| Sullen Claw | Sword | Check the roll you want. |
| Heirloom | Exotic Solar Special-ammo crossbow | Separate named acquisition from a normal clear. |
Released Update 9.7.0 sets farmable Tier 5 weapon and armor rewards for featured Standard dungeons, while nonfeatured Standard rewards are Tier 3. Featured hidden-chest and Director Challenge rewards retain weekly limits. Inspect the active card rather than assuming Equilibrium is featured this week or that every source shares the same lockout. Released dungeon reward framework.
The original announcement separately gives the Taken Praxic Blade crystal a chance after all encounters are cleared, with its own repeat-clear tracking. Its rule does not establish Heirloom’s current repeat-attempt entitlement. The old Contest weapon guarantee also belonged to that limited event. Original reward distinctions.
For the weapon’s ten initial-drop boosts, charged shots and Catalyst, read the Heirloom Guide. For the separate weapon and its customization, see the Praxic Blade Guide. A random reward, a quest handoff and a completed upgrade should be checked individually.
Solo, Flawless and Optional Objectives
Current completion records describe different conditions
| Record | Current requirement |
|---|---|
| Finding Balance | Complete the dungeon’s three recorded encounters. |
| Me And My Shadow | Complete every encounter solo without leaving. |
| Perfect Record | Complete every encounter as a fireteam without deaths or leaving. |
| To Walk Alone | Complete every encounter solo without deaths or leaving. |
These conditions come from the current records. A final-boss checkpoint or a group completion is not a substitute for an uninterrupted full solo run. Optional Feats, collectibles and The Way Between add separate objectives; review the specific record you want before starting. Current Triumph conditions.
The Way Between has its own ordered relic and temple progression. Released Update 9.5.5 specifically corrected Shade of Sere rewards for previous completers already attuned to a gear piece. That correction does not mean a basic dungeon clear includes every quest stage, or that all reward problems have the same cause. Released quest reward correction.
Choose the Correct Equilibrium Service
In Destiny 2 Dungeons & Solo Flawless, select the exact Equilibrium objective for one Guardian. The four published choices have different coverage:
Match the purchased objective to the run
| Choice | Coverage | Participation |
|---|---|---|
| Normal full clear | The named dungeon clear once. | Piloted or group Self-play. |
| Normal last boss | The final encounter; earlier encounters excluded. | Piloted or group Self-play. |
| Solo completion | The full named solo objective without a Flawless requirement. | Piloted only. |
| Solo Flawless | The full named solo objective with its no-death condition. | Piloted only. |
Choose a named dungeon objective
Destiny 2 Dungeons & Solo Flawless
- Six named dungeon activities
- Full-clear and last-boss routes
- Piloted Solo Flawless challenges
Group Self-play means you control your Guardian and join the team; it adds 20% of the normal Piloted base. PC, PlayStation 5 and Xbox share that base. Review the instant configured total in your preferred display currency. Completion-priority choices do not promise a fixed start or finish time.
The clear packages exclude guaranteed random Exotics or rolls, secret chests, collectibles, optional quests, timed records and selected Feats. Account access to the activity and prerequisite progress must already be ready. If Heirloom is the goal, choose its named weapon-acquisition objective in Exotic Weapons & Catalysts instead of expecting a base dungeon clear to guarantee it.
Equilibrium FAQ
Access, objectives and service questions
How many players can enter Equilibrium Standard?
Its current activity definition supports one to three Guardians with matchmaking off. A three-player team should share duties among three people.
What are the three encounter objectives?
Board the Harvester, defeat Harrow and defeat Sere. These are also the three objectives tracked by the Finding Balance completion record.
Is a group Flawless clear the same as Solo Flawless?
No. Perfect Record describes a fireteam run without deaths or leaving; To Walk Alone requires the solo version. Check the exact record and selected service.
Does every dungeon reward use one weekly lockout?
No. The released reward framework distinguishes farmable encounter rewards from weekly sources. The Taken crystal also has a separate full-clear rule; do not transfer it to an unrelated reward.
Does a normal clear guarantee Heirloom?
The base dungeon packages do not guarantee a random Exotic. The named Heirloom weapon-acquisition objective is a different selection in the Exotic service.
Does the last-boss package include the earlier encounters?
No. It covers the selected final encounter, with checkpoint arrangements agreed separately. Choose the full-clear objective when that is the result you need.
Can I choose Self-play for Solo Flawless?
No. Solo and Solo Flawless use Piloted execution only. Compatible group full-clear and last-boss objectives support Self-play.
Are The Way Between, collectibles and the Catalyst included?
These optional objectives are excluded from the base clear packages. Choose the exact supported objective rather than assuming a full dungeon clear includes every reward route.
Sources and Visual Walkthrough
Reviewed October 15, 2026. Current Bungie definitions verify activity capacity, completion conditions and weapon sources. The compact mechanics summary draws on firsthand player walkthroughs; responsibility assignments and practice suggestions are original guidance. This is not a newly recorded CFNBoost clear or a certification of exact current hidden-puzzle routes, drop percentages or unrestricted Exotic farming.
For a visual reference, Datto’s Equilibrium guide is dated December 21, 2025. Its published chapters start at 1:01 for the first encounter, 3:15 for Harrow, 6:20 for Sere, 12:33 for the quest and 16:21 for chests and collectibles. Compare that older recording with your current activity. It is external creator footage, not a CFNBoost PRO recording.
- Bungie: current Destiny manifest
- Bungie Help: current activity access
- Bungie: original Equilibrium reward context
- Bungie: released dungeon reward framework
- Bungie: released Shade of Sere reward correction
- John Schutt: firsthand opening and traversal account
- PT153: firsthand Harrow and Sere mechanics account