ARC Raiders Outpost Guide: Unlock, Research, Amplify
How to unlock the Outpost in ARC Raiders Frozen Trail, what each room and Research Station level costs, and how to reach Amplified Weapons without wasting materials.
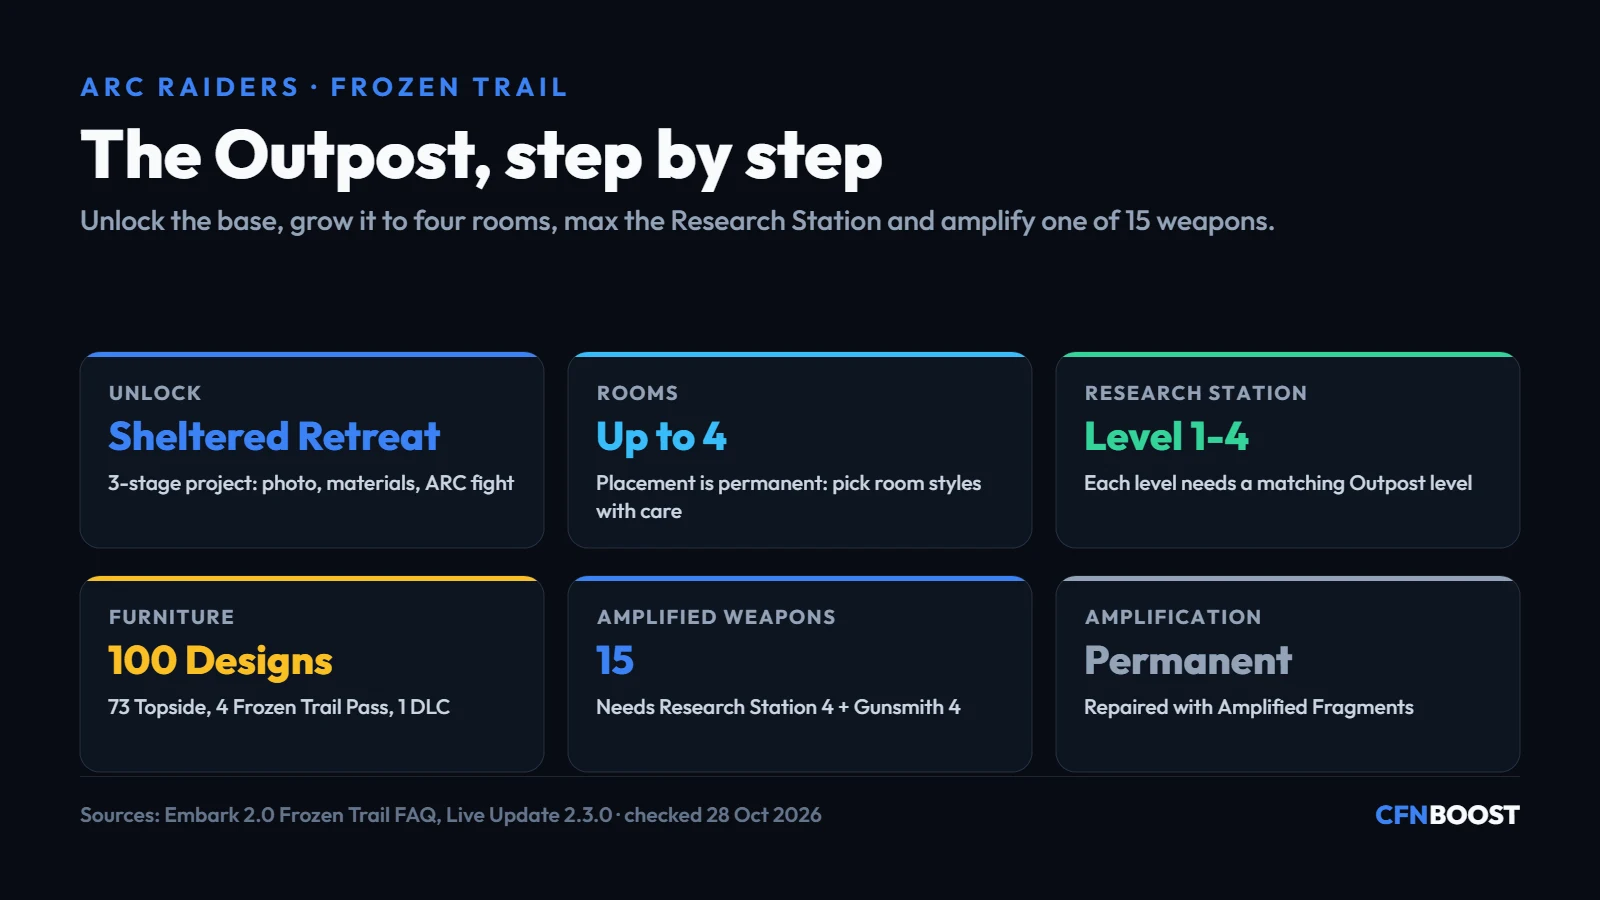
The ARC Raiders Outpost is the new home base that arrived with the Frozen Trail 2.0 update on October 8, 2026. You unlock it through a three-stage project, expand it room by room, and level its Research Station to 4, which is the only way to reach Amplified Weapons. This guide covers the unlock, every upgrade step we could confirm, the 15 weapons you can amplify and the order we would follow to get there without wasting materials.
What the Outpost is and why it matters
Embark first described the Outpost in its Frozen Trail announcement as a space you can decorate, use to research the world and treat as the first step toward reclaiming the surface. In the live game it sits Topside between the Rust Belt and Pendola Pass. You manage it from a customization view in Speranza; it is not a place you walk around yet.
Most of the Outpost is cosmetic. Furniture, room styles and decorations change how your base looks, not how strong you are. The one part that changes combat is the Research Station (Embark calls it the Research Bench): it handles blueprint and Design crafting, and at level 4 it opens Amplified Research. If you only care about loadouts, treat everything else as a means to that level.
How to unlock the Outpost
Embark confirms that the Outpost is unlocked by completing a project, and that the first step, Research Topside Living Conditions, asks for a photo of a farmland house, so accept the quest and bring a camera. Community guides report that the project appears in the Outpost tab from Raider Level 18 and has three stages that must be done in order:
- Stage 1, the photo. Take a picture of the farmland house around Ruined Homestead on Blue Gate. A camera can be bought from Shani, crafted at the Workbench or found Topside.
- Stage 2, the materials. Hand in 3 Planks, 5 Sheet Metal, 10 ARC Alloy and 3 Advanced Electrical Components. Stash these before you start so you do not stall on the second stage.
- Stage 3, the defence. Distract and destroy ARC so construction can finish. Community guides list damage targets against flying ARC and the new Bully. Bring a reliable mid-range gun and enough shield charges for a stand-up fight.
- Claim the reward. Finishing stage 3 makes the Outpost permanent and opens the Research Station.
Stage 3 is where most players lose time. Run it with a squad if you can, and pick a quiet map condition: you need the ARC alive long enough to deal the damage, which makes you an easy target for other raiders.
Rooms and expansion costs
Your Outpost starts with a base room and can expand to four rooms. Each expansion raises the Outpost level, and the Outpost level caps your Research Station. Room placement and style are permanent, so decide on styles before you build. The costs below are community-documented, so confirm them on the upgrade screen before you farm.
Outpost expansion costs (community-documented)
| Upgrade | Materials | What it unlocks |
|---|---|---|
| Level 1 to 2 | 3 Steel Cable, 20 Sheet Metal, 3 Cable Strippers | Second room, Research Station level 2 cap |
| Level 2 to 3 | 3 Epoxy Buckets, 35 Planks, 3 Hand Drills | Third room, Research Station level 3 cap |
| Level 3 to 4 | 40 Sheet Metal, 3 Laser Levels, 3 Insulation Rolls | Fourth room, Research Station level 4 cap |
Sheet Metal and Planks are the bottleneck across the whole tree. Celeste trades Assorted Seeds for Steel Cable, Planks and Sheet Metal, so keep seeds instead of selling them once you start the Outpost.
Research Station levels 1 to 4
The Research Station is the reason to push the Outpost. Each level needs the matching Outpost level, and the later levels ask for parts that only drop from Frozen Trail enemies and the fallen Emperor on Pendola Pass.
Research Station upgrade costs (community-documented)
| Level | Outpost level needed | Materials |
|---|---|---|
| Level 1 | 1 (base room) | 3 Mini Pumps, 35 Planks, 5 Battered Paperbacks |
| Level 2 | 2 | 3 Calculators, 3 Raider Logbooks, 5 Skulker Targeters |
| Level 3 | 3 | 3 Differential Microphones, 3 Exodus Technical Handbooks, 6 Bully Fragmenters |
| Level 4 | 4 | 3 Thermal Shakers, 3 ARC Data Modules, 1 Frigate Inductor |
Plan your raids around levels 3 and 4. Bully Fragmenters come from the new Bully, and the Frigate Inductor needs a trip onto the ARC Frigate on Pendola Pass, which other squads contest. Live Update 2.3.0 moved better loot deeper into the Frigate, so fight for the inner rooms rather than looting the edges.
Amplified Weapons: requirements and the 15 weapons
Amplification adds a fifth quality tier to selected weapons and lets you pick extra upgrades that change how they behave, such as a fully automatic Burletta, a scoped Renegade or a Rattler with a drum magazine. To start, you need the Research Station at level 4 and the Gunsmith at level 4, plus the weapon itself upgraded through its normal tiers.
Each weapon then takes an Amplification Module that matches its original rarity (Mk. I for Common up to Mk. V for Legendary). Modules come mainly from the Frigate and the fallen Emperor. Community testing reports that each perk also needs a Research Station project of about 5,000 Research Points plus specific ARC parts and Epic materials.
The 15 weapons you can amplify (community list)
| Weapon | Module | Upgrade paths |
|---|---|---|
| Hairpin | Mk. I | Semi-Auto, Sprint Shooting, Incendiary Rounds, Tracker Rounds |
| Kettle | Mk. I | Anti-Shield, Full-Auto, X-Rounds |
| Rattler | Mk. I | More Reload, Drum Mag, Incendiary Rounds |
| Burletta | Mk. II | Burst Fire, Increased Burst, Full-Auto, Sprint Shooting |
| Il Toro | Mk. II | More Reload, Slug Rounds |
| Anvil | Mk. III | Anvil Splitter, X-Rounds |
| Canto | Mk. III | Carbine Conversion, Incendiary Rounds, Sprint Shooting |
| Osprey | Mk. III | Anti-Weak Point, Ergonomic Bolt, Tracker Rounds |
| Rascal | Mk. III | High Velocity, Incendiary Rounds, Sprint Shooting |
| Renegade | Mk. III | More Reload, Scoped |
| Bettina | Mk. IV | Bigger Mag, Semi-Auto, X-Rounds |
| Hullcracker | Mk. IV | Incendiary Rounds, Mag Reload |
| Aphelion | Mk. V | Bigger Mag, Charged Burst, Increased Burst, Incendiary Rounds |
| Equalizer | Mk. V | Anti-Weak Point, Ramping Damage, Bigger Mag |
| Jupiter | Mk. V | Bigger Mag, Scoped, Ergonomic Bolt |
Two rules matter before you commit. Amplification is permanent: a chosen perk stays on that weapon, and some branches block others (since 2.3.0 the tooltip lists what each branch point blocks). And an Amplified Weapon you die with stays lootable but drops to about 10% durability; it can only be repaired with Amplified Fragments. Embark confirms the old Anvil Splitter mod is now an Amplified Anvil upgrade and can be recycled into Fragments, so do not sell spare Splitters.
Furniture, Designs and Celeste
Embark added 100 furniture Designs: 73 are found Topside, 4 are exclusive to the Frozen Trail Pass and 1 comes with the DLC. Designs work like blueprints: you learn one, then craft the piece. Live Update 2.3.0 fixed inverted drop rates, so rarer Designs are now properly rare.
- Storage furniture is useful. Weapon racks and shelves hold weapons, trinkets and decor, which frees stash space. They do not hold ammo, healing items or standard crafting materials.
- Decor is optional. Pure decoration has no gameplay effect, so craft it with spare materials only.
- Celeste is your material vendor. She trades the new furniture materials and gameplay items, which helps when Sheet Metal or Planks run short.
The order we would follow
- Unlock the Outpost early. Stage 2 materials are cheap, and the Research Station unlocks right away.
- Put Research Station level 1 and Outpost level 2 first. Both use common materials and open blueprint and Design crafting.
- Farm Frozen Trail parts while you level. Collect Skulker Targeters and Bully Fragmenters during normal raids on Pendola Pass instead of farming them later.
- Save the Frigate for levels 3 and 4. Go in with a full squad for the Frigate Inductor and Amplification Modules.
- Amplify one main weapon first. Pick a gun you already use and can protect. Keep a stack of Amplified Fragments before taking it into risky raids.
Common mistakes to avoid
- Building rooms without a plan. Placement is permanent, so pick the room styles you want before you spend materials.
- Selling seeds and Anvil Splitters. Seeds trade for Outpost materials at Celeste, and Splitters recycle into the Fragments that repair Amplified Weapons.
- Amplifying a gun you rarely use. Perks cannot be removed or moved to another weapon, and modules are scarce.
- Taking an amplified weapon into every raid. If you die, it stays lootable and drops to around 10% durability, so use it when the raid is worth the risk.
ARC Raiders Outpost and gear services
ARC Raiders Outpost Progression
- Named unlock objective
- Exact Outpost upgrade
- Piloted execution
ARC Raiders Workshop Upgrades
- 6 Workshop Stations
- Exact Level Range
- Materials or Piloted
ARC Raiders Materials
- 96 named material packs
- Exact quantities shown
- Choose your delivery
ARC Raiders Weapons
- 19 named weapon pairs
- 2 weapons in each pack
- Choose your delivery
ARC Raiders Outpost FAQ
How do you unlock the Outpost in ARC Raiders?
Complete the Sheltered Retreat project from the Outpost tab. Stage 1 is Research Topside Living Conditions, a photo of a farmland house, so bring a camera. Stage 2 is a hand-in of Planks, Sheet Metal, ARC Alloy and Advanced Electrical Components, and stage 3 is fighting ARC while it is built. Community guides report it becomes available at Raider Level 18.
Where is the farmland house for the Outpost photo?
Community guides place it around Ruined Homestead on the Blue Gate map. Accept the project before the raid and carry a camera from Shani, the Workbench or a Topside find.
What do you need for Amplified Weapons?
The Research Station and the Gunsmith both at level 4, a supported weapon upgraded through its normal tiers, an Amplification Module that matches its original rarity, and the materials for each perk. Fifteen weapons can be amplified at launch.
Can you undo weapon amplification?
No. Amplification and the perks you choose are permanent for that weapon. Some branches block others, and since Live Update 2.3.0 the tooltip shows which ones.
How do you repair Amplified Weapons?
With Amplified Fragments, not normal repairs. Recycling the old Anvil Splitter mod gives Fragments. If you die with an Amplified Weapon it stays lootable and drops to about 10 percent durability.
Does Outpost furniture do anything?
Mostly no. Decorations are cosmetic, but weapon racks and shelves store weapons, trinkets and decor, which frees some stash space. The Research Station is the only Outpost upgrade that affects combat.
Related guides: find the parts you need with our ARC Raiders keep, sell and recycle guide, plan mods for your amplified gun with the best attachments guide, and track recipes in the ARC Raiders blueprints guide. New to the game? Start with the ARC Raiders beginner guide. For services, see ARC Raiders Outpost Progression and ARC Raiders Materials.