Destiny 2 Prophecy Dungeon Guide: Encounters & Rewards
Learn Prophecy Light and Dark motes, Phalanx Echo, the cube and Kell Echo. Check reward changes and compare full-clear, last-boss and solo choices.
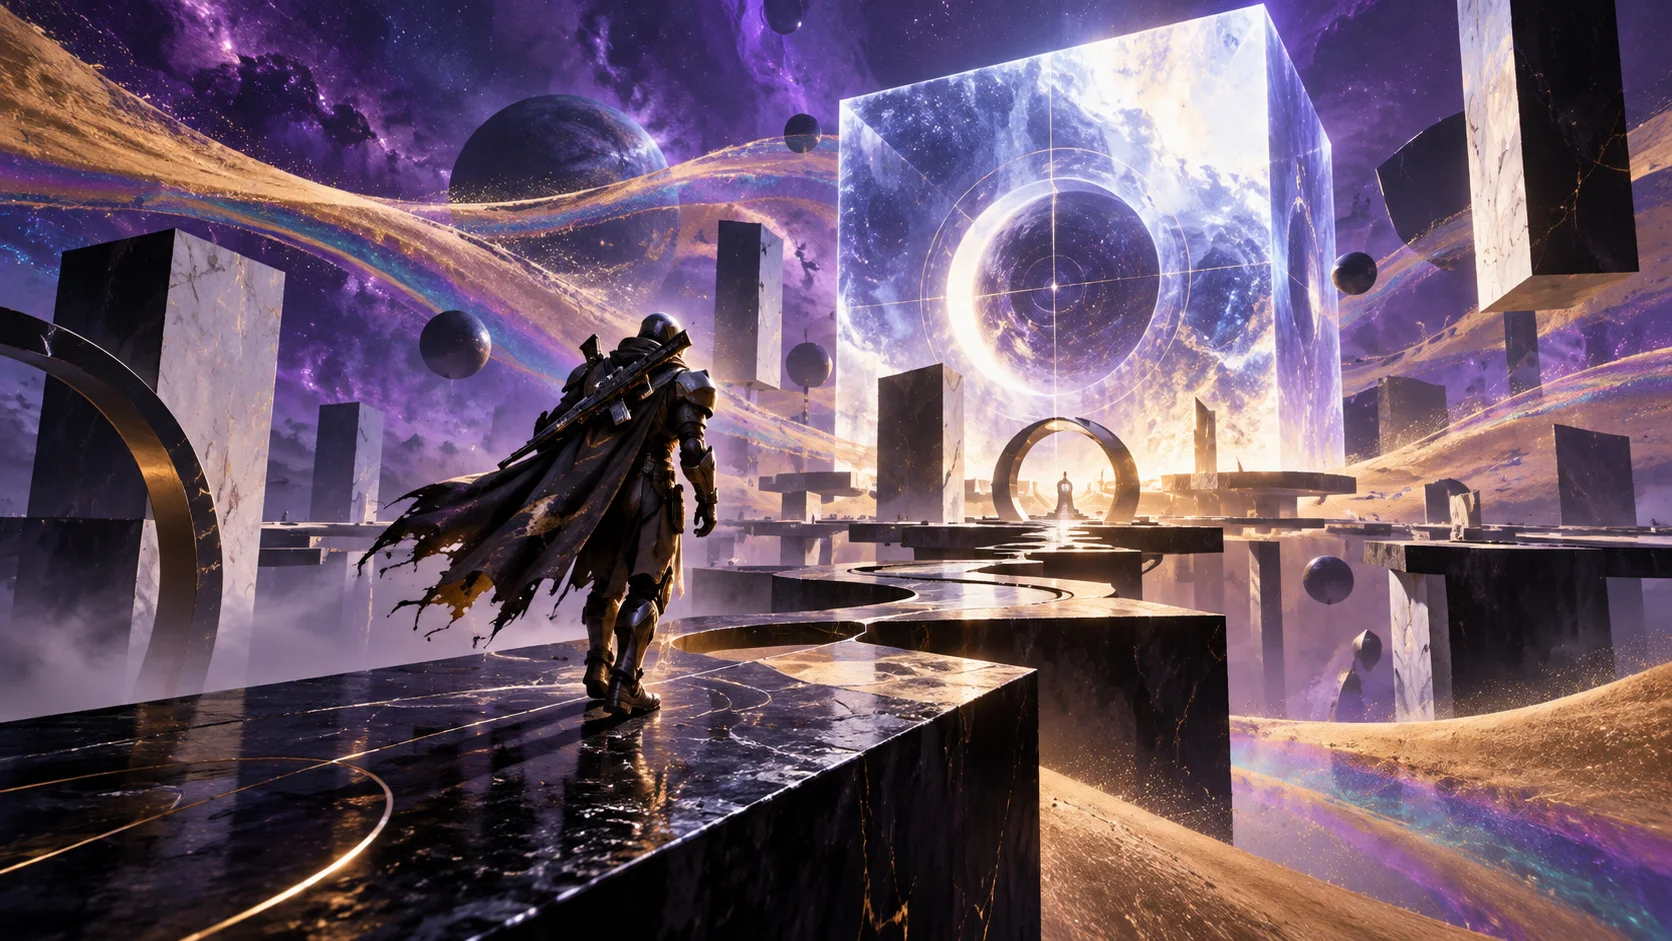
Prophecy asks you to solve the same Light and Dark mote rule in very different spaces. The first boss tests control near an arena edge, the cube tests your next destination, and Kell Echo tests whether you can keep moving while dealing damage. Learn the transition before worrying about a faster clear.
Reviewed October 14, 2026. This guide covers the ordinary dungeon route, practical team roles, current reward context and the Prophecy objectives available on CFNBoost.
Prophecy Route: What Each Stage Tests
Follow the route without losing the next objective
| Stage | Focus |
|---|---|
| Opening tunnels | Learn the matching-mote deposit. |
| Phalanx Echo | Clear the pillars before attacking the boss. |
| Wasteland | Clear blight groups and locate the next entrance. |
| Hexahedron | Read Toland, cleanse the correct side and rotate. |
| Singularity | Cross the ribbons with controlled movement. |
| Kell Echo | Prepare the room, then follow the damage route. |
For a first clear, agree who calls the next objective and who supports the player carrying it. Use short, consistent calls instead of several people giving different directions. Have a backup ready when the intended player cannot safely finish the task.
Before Launch: Read the Current Activity Card
Bungie moved Prophecy into the Raids and Dungeons destination node in Update 9.7.0. Open its current card for the live entry requirements, modifiers and reward preview. Old Tower-launch instructions and launch-era Power numbers are not current preparation advice. Bungie’s released activity update.
Choose an objective before starting: learn a full run, finish the final encounter or practise a solo route. Bring familiar weapons and a defensive setup you can use while reading the room. A dependable escape or recovery option is useful when a deposit or jump goes wrong.
Light and Dark Motes: Your Position Matters
The player landing the Knight’s final blow determines the mote color through their position in light or shade. Use the screen-edge effect to check that state before finishing the Knight. It is not decided by where the Knight stands. Player explanation of the final-blow rule.
A Knight drops three motes. Five matching motes form a carried charge: move beside the matching pillar and use the fire input to cleanse it. The opening tunnels let you practise this before the first boss. Original opening-route explanation.
- Call the required color before the final blow.
- Have one player finish the target while the others control nearby enemies.
- Check the carried charge and matching pillar before depositing.
- Confirm the pillar cleared before calling the next target.
If the wrong color keeps dropping, slow down the team’s final blows. A damage-over-time effect or an unexpected teammate shot can finish the target after your intended setup. Let the designated player confirm their position rather than assuming the whole team is standing in the same lighting.
Phalanx Echo: Clear the Arena Before Damage
Cleanse two Light and two Dark pillars to remove the Phalanx Echo’s immunity, then use the damage opportunity. If immunity returns, repeat the mote cycle. Original Phalanx encounter summary.
Agree a pillar call everyone can recognize. Keep a safe landing in view when approaching the boss, and avoid making the carrier cross the room through unmanaged enemies. If an approach feels unsafe, clear space before committing rather than chasing the shortest possible route.
When damage opens, announce it once and have the group move to the agreed position. After an unsuccessful attempt, distinguish between a lost carrier, a missed deposit and a poorly prepared damage phase. Those problems need different adjustments.
Wasteland: Finish the Blights and Follow Toland
Destroy the blights at each group and approach Toland to advance the route. After the area reports that the way is open, find the opened boundary and continue into the cube structure. Community route and transition explanation.
Keep the group together for the exit call. If the route seems stalled, retrace the last completed group and look for an unconfirmed transition instead of driving around at random. One player can scout the next entrance while the others regroup at a recognizable landmark.
Hexahedron: Read the Room After Every Rotation
Find Toland’s marked side and cleanse the pillar beneath it with matching motes. Gather on the central plate to rotate. When Toland is overhead, use an unmarked side of the central cube to choose the next face. Repeating the process eventually brings the final Centurions. Original community cube walkthrough.
- Let the caller identify the next side before collecting a charge.
- Name the destination using a landmark everyone can see.
- Have the carrier confirm the cleanse, then regroup at the center.
- After rotating, read the new room instead of repeating the last direction.
Separate “target found” from “deposit complete” in your calls. These are different states, and treating them as one can send a teammate to the center too soon. If people disagree about the next side, stop for one shared read before making another deposit.
Singularity: Use a Route You Can Control
The ribbon section leads down toward the final arena, with enemies along the crossing. A Sparrow is available, but the objective is to reach the end safely. Original ribbon-route summary.
For a learning run, use short sections and visible landing points. Do not feel obliged to match the speed of the first player through the route. Before a solo objective, practise the crossing until you can repeat it without relying on a teammate’s rescue.
Kell Echo: Prepare Three Corners, Then Follow the Boss
Cleanse the three pillars with matching charges and defeat the Ogre that appears after each cleanse. Once the room is ready, use the central transition to reach the damage corridor. Original Kell Echo room sequence.
In the corridor, staying too far from Kell Echo builds Dark Entropy; moving within the boss’s range reduces it. The teleport attack can send you backward. Prioritize returning to a safe forward position when that happens. Player-tested distance and teleport explanation in the community thread.
Treat movement as part of the damage plan. Choose a weapon you can use without losing sight of the next landing, and assign someone to watch the route rather than having everyone stare at a damage number. Call when you are behind so the group knows you need a safer path forward.
If the boss survives the corridor, regroup for the next room cycle. Keep the same clear corner calls, but read the new pillar colors. A clean repeat is preferable to rushing a deposit while teammates are still recovering.
Fix the Failed Step Before Changing Everything
Practical adjustments for the next attempt
| What went wrong | Adjustment to try |
|---|---|
| Wrong mote color | Agree the final-blow player and confirm their lighting. |
| Carrier cannot reach the target | Create a clear approach before sending the charge. |
| Cube directions become confused | Make one shared room read after each rotation. |
| Ribbon crossing repeatedly fails | Break the route into familiar landing points. |
| Kell damage ends in panic | Call movement earlier and keep a forward recovery route. |
Change one responsibility at a time. Compare whether that change made the transition more predictable before replacing the whole loadout. For solo practice, focus on the step that ends the run most often, including travel sections rather than only boss damage.
Current Rewards: Featured Status Changes the Tier
Update 9.7.0 introduced tiered rewards for older dungeons. Bungie’s featured-dungeon framework lists farmable Tier 5 weapons and armor from Standard encounters; featured Director Challenges and hidden chests have weekly lockouts. Non-featured Standard lists Tier 3 weapons and armor. Bungie’s published reward framework.
Check the live preview to see whether Prophecy is featured today and what your selected activity awards. This guide does not identify the current week’s rotation or guarantee a particular weapon, perk roll or reward tier outside the stated activity conditions.
For historical weapon context, Bungie’s 2024 refresh added Prosecutor, Adjudicator and Relentless and updated Judgment, Darkest Before and A Sudden Death. That announcement predates the 2026 tiered framework; use it as background rather than a complete current loot table. Bungie’s dated weapon-refresh announcement.
Choose a CFNBoost Prophecy Completion Goal
Current Prophecy choices in the dungeon configurator
| Objective | Scope | Participation |
|---|---|---|
| Normal full clear | The selected complete dungeon run. | Piloted or Self-play. |
| Normal last boss | The selected Kell Echo completion. | Piloted or Self-play. |
| Solo completion | A solo completion objective. | Piloted only. |
| Solo Flawless | The solo objective with its flawless requirement. | Piloted only. |
Piloted means the PRO plays your character; Self-play means you participate on your own Guardian. Supported boosting Self-play adds 20% to the selected Piloted package. Solo and Solo Flawless remain distinct Piloted-only objectives in the current configurator.
Choose the package and review the current total in your preferred display currency before adding it to the cart. A last-boss package is different from a full run, and a completion goal does not include every optional collectible or a guaranteed random drop.
Configure a Prophecy dungeon objective, browse Destiny 2 services or read the Warlord’s Ruin encounter guide.
Choose your dungeon and completion objective
Destiny 2 Dungeons & Solo Flawless
- Six named dungeon activities
- Full-clear and last-boss routes
- Piloted Solo Flawless challenges
Prophecy Dungeon FAQ
Preparation and completion choices
What should a first-clear team agree?
Choose the completion goal, one objective caller and a backup for interrupted tasks. Read the current activity card and use recognizable room directions.
Should I rebuild my entire loadout after a failed attempt?
First identify the failed transition. Change one responsibility or recovery step and compare the next attempt before changing everything at once.
What is a useful way to practise the ribbon crossing?
Use short sections with visible landing points. Practise a repeatable route rather than matching a teammate’s fastest crossing.
How should the group handle conflicting cube calls?
Pause for one shared read of the new room, name a destination everyone recognizes and distinguish the target call from confirmation of a finished deposit.
Is a last-boss selection a full Prophecy clear?
No. The Kell Echo last-boss objective and the complete dungeon run are separate current selections.
Can I choose Self-play for Solo Flawless?
No. Current Solo and Solo Flawless objectives are Piloted only. Normal full-clear and last-boss selections support Self-play.
Does buying a completion guarantee the weapon roll I want?
No. The selected completion goal is separate from a particular random reward or perk roll. Read the activity preview for current reward conditions.
Where can I check the final service price?
Select the objective and supported options in the dungeon configurator. Review the current total in your preferred display currency before adding it to the cart.
Sources and Review
Reviewed October 14, 2026. Bungie supplies the released launch and reward changes and the dated weapon-refresh context. Historical raidsecrets guides and player replies explain encounter mechanics; their old Power, loadout and farming claims are not used as current guidance. Team roles and recovery suggestions are original editorial advice. This review does not claim CFNBoost gameplay footage, measured damage or a verified current-week rotation.