Destiny 2 Drowning Labyrinth: Quest, Worms & Codes
Follow The Drowning Labyrinth’s 11 stages, nine worm landmarks and camp codes. Separate the focusing unlock, Finality’s Auger and its Catalyst requirements.
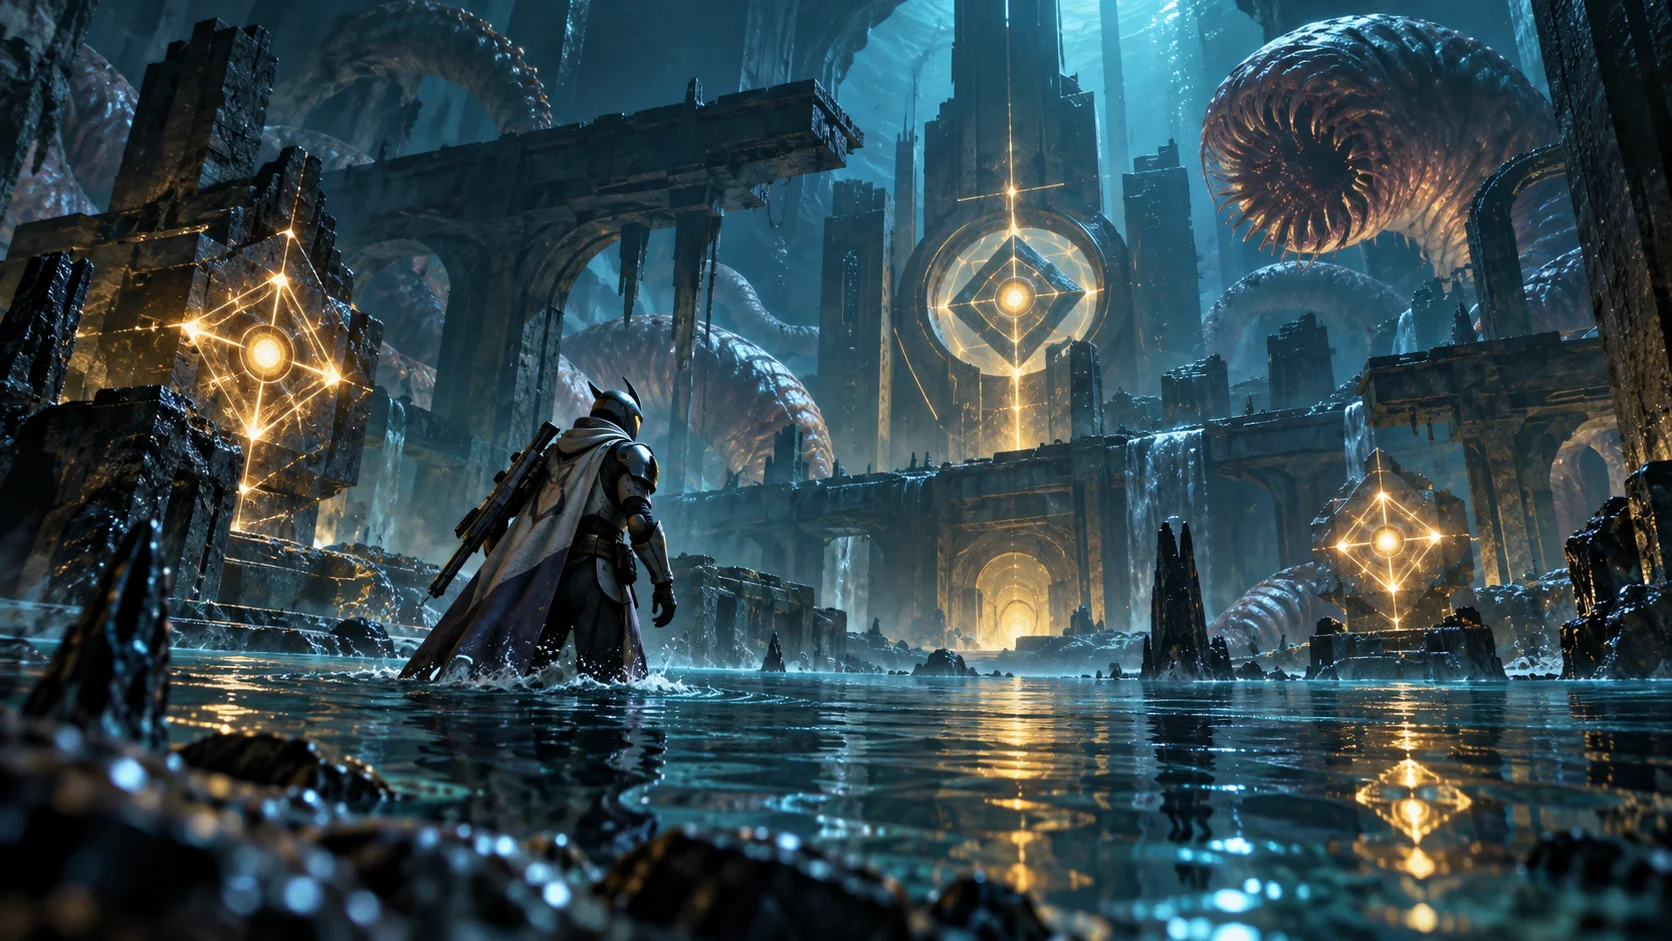
The Drowning Labyrinth is Sundered Doctrine’s eleven-stage quest. You return to the Hidden camp, investigate three sets of worms, recover information and open Rhulk’s vault. Its gear-focusing unlock is separate from a random Finality’s Auger drop and from finishing that weapon’s Catalyst.
Reviewed October 15, 2026. Follow the quest on the Guardian you are using, then match the next report and secret objective to that stage. The route landmarks below are a compact, attributed companion to the current quest checklist.
Start With Ikora and Check Dungeon Access
Look for The Drowning Labyrinth with Ikora Rey in the Tower Bazaar. The first tracked objective is a Sundered Doctrine completion on any difficulty; the quest is acquired before that objective, not awarded only after finishing it. Bungie’s original entry instructions explicitly required the pursuit alongside The Final Shape Dungeon Key. Original entry context.
Check the dungeon’s current launch card and the content owned by your account. Bungie’s current access guidance includes Dungeon Keys in Destiny 2: The Collection. The old launch Contest Power target and three-player race entry checklist are not a current Normal-run requirement. Current access guidance.
For the Riddle, Zoetic Lockset and Kerrev encounters, keep the Sundered Doctrine Dungeon Guide alongside this quest route. A group learning the encounters should agree who reads the quest before anyone advances the activity.
The Eleven Quest Stages in Order
The current quest definitions preserve the following order. The two researcher-study milestones remain in the chain, but the definitions do not prove that a new player must wait through three new weekly resets today. Follow the next instruction actually available. Current ordered quest and objective definitions.
The Drowning Labyrinth progression
| Stage | Tracked work | Before moving on |
|---|---|---|
| 1 | Complete Sundered Doctrine on any difficulty. | Check the quest advances after completion. |
| 2 | Collect the Hidden report and enter its suggested code. | Both initiation and code objectives must register. |
| 3 | Reach 3 laboratory worms and steal Dread knowledge. | The counter alone does not finish the secret objective. |
| 4 | Complete the dungeon again. | Inspect the next quest stage. |
| 5 | Follow the researcher-study instruction. | Check whether the next report is available. |
| 6 | Collect the next report, reach 6 worms and discover Hive secrets. | Confirm initiation, worms and the secret separately. |
| 7 | Complete the dungeon and check the vault-door progress. | Inspect the next quest stage. |
| 8 | Follow the second researcher-study instruction. | Check whether the final report is available. |
| 9 | Collect the newest report, reach 9 worms and find the Control Chamber. | Complete all three tracked objectives. |
| 10 | Return to the vault and open the door through the dungeon. | The objective specifically tracks opening the door. |
| 11 | Return to Ikora in the Bazaar. | Finish the debrief and inspect the reward state. |
The displayed worm thresholds are cumulative: three, then six, then nine. They do not ask for eighteen different worms. Keep the secret action and the counter as separate checks, because stages 3, 6 and 9 each track both.
Nine Worm Landmarks and Their Symbols
Use the numbered landmarks as a short route reference. For the precise visual position, consult Zuhaad Ali’s illustrated Game Post walkthrough. It includes original gameplay captures and credits Skarrow9 and Datto where their captures are used. No images from that guide have been reused here.
Worm route reference
| Worm and symbol | Landmark |
|---|---|
| 1 · Witness | Under the entrance bridge: concealed platform. |
| 2 · Give | Post-Riddle cavern: shoot its rear secret door. |
| 3 · Darkness | Post-Lockset: side door by the pre-boss puzzle. |
| 4 · Hive | Pre-Riddle red-lit cube: Activate the concealed entrance. |
| 5 · Grief | Pre-boulders: pit’s wall-side pressure plate. |
| 6 · Worm / Snake | Post-Lockset: upstairs shoot-open door, worm-corpse room. |
| 7 · Guardian | Second traversal: concealed platform, upper shoot-open door. |
| 8 · Remember | Rolling-ball room: upper-left ledges, Activate. |
| 9 · Fleet | Beyond Worm/Enter lenses: far-right Activate. |
Read the symbol at the actual location before returning to the machinery. Keep your own notes beside the relevant quest stage, and check every party member’s progress before advancing. Numbering is a guide convention; the active quest objectives remain the completion check.
Camp Codes and the Three Secret Objectives
The Hidden camp is near the dungeon entrance. Collect the report required by your current stage before using its machinery. The compact code reference and secret actions below follow the illustrated walkthrough linked above.
Machinery symbol order
| When | Code |
|---|---|
| Report | Savathûn → Enter → Pyramid |
| First set | Witness → Give → Darkness |
| Second set | Hive → Grief → Worm |
| Third set | Guardian → Remember → Fleet |
Worm and Snake name the same curled glyph in that reference. Match its shape rather than treating those labels as two different symbols.
Clear the secret-room enemies, deposit Knowledge on the orange plate and scan inside. Illustrated Dread route.
Carry Knights’ explosive worms below the upper ledge; deposit and interact inside. Illustrated Hive route.
Use Knight-dropped lenses: connect the cavern’s right-side source to the central Worm door; interact inside. Illustrated Control Chamber route.
After each action, inspect the corresponding quest objective before continuing. Decide who will operate the machinery and who will watch the quest update; this makes a missing interaction easier to identify than repeating the whole run without checking.
Open the Vault and Finish the Debrief
Stay in that instance, defeat Kerrev, wait for the vault door and loot its chest. Illustrated final-door sequence.
Keep the group together while the objective resolves, then follow the final quest instruction back to Ikora. Do not substitute a normal completion message for the named door objective: the current stage 10 explicitly tracks Open the Door, and stage 11 separately requires the debrief. Current final quest objectives.
Focusing, Finality’s Auger and the Catalyst
The Hidden Treasures Triumph states that completing The Drowning Labyrinth unlocks Sundered Doctrine gear focusing. Review and claim the relevant Triumph when earned. That unlock does not mean every desired roll is guaranteed or that a Catalyst is already finished. Current Hidden Treasures record.
Released Update 9.7.0.2 corrected focusing chests dropping untiered items in Sundered Doctrine. This verifies that specific reward correction; check the actual current reward and eligibility when focusing. Released focusing-chest correction.
Keep the reward milestones separate
| Goal | What to confirm |
|---|---|
| The Drowning Labyrinth | The quest’s final debrief and Hidden Treasures focusing unlock. |
| Finality’s Auger weapon | The Exotic is actually present in your collection or inventory. |
| Catalyst acquisition | The upgrade itself has been obtained from its dungeon source. |
| Catalyst Masterwork | The 400-defeat objective is completed and the upgrade applied. |
For the weapon, drop boosts and Bait and Switch conditions, read the Finality’s Auger Guide. A dungeon clear, quest completion, weapon acquisition and the 400-defeat Catalyst objective are different results.
If the Quest Stops Advancing
In an August 2026 support reply, BNGHelp13 advised continuing on the original character that started the quest, replaying the relevant steps there, and supplying a short video of the current stage if the issue persisted. This is support guidance for the reported problem, not a guaranteed fix for every account. Bungie support reply.
- Check the exact stage and every objective shown on that Guardian.
- Confirm the required report and secret interaction before another clear.
- Compare the symbol you saw with the code you entered.
- Keep the final secret-to-vault sequence together rather than dropping the group after the boss.
- If progress is still missing, record the quest screen and failed interaction for Bungie support.
Choose Help for the Result You Need
The current Dungeons & Solo Flawless service offers named Sundered Doctrine clears and solo goals. Its base clear excludes optional quest, collectible and secret-chest work. It is useful for the selected dungeon objective; it does not sell completion of The Drowning Labyrinth as part of that base package.
In Exotic Weapons & Catalysts, Finality’s Auger weapon acquisition, Catalyst obtain only, and Catalyst obtain plus Masterwork are separate choices. Both Catalyst packages require the weapon already owned and The Drowning Labyrinth already complete. Neither includes the prerequisite quest.
Choose a named weapon or Catalyst objective
Destiny 2 Exotic Weapons & Catalysts
- Named Exotic acquisition routes
- Separate Catalyst objectives
- Activity-specific participation
Compatible group objectives support Piloted or Self-play. Group Self-play adds 20% to the normal Piloted base; PC, PlayStation 5 and Xbox use that same base. Review the chosen scope and instant total in your preferred display currency. Priority options do not establish a fixed completion time.
The Drowning Labyrinth FAQ
Quest and reward questions
Where do I start The Drowning Labyrinth?
Look for the quest with Ikora Rey in the Tower Bazaar. The first tracked task is completing Sundered Doctrine on any difficulty; confirm your current dungeon access before launching.
How many stages are in the quest?
The current ordered quest chain contains eleven stages, including two researcher-study milestones and a final Ikora debrief.
Do I need eighteen worms?
No. The displayed worm objectives rise cumulatively from three to six to nine. The associated secret objectives still need to register.
Do I have to wait three weeks if I start now?
The chain retains research-study milestones, but its definitions do not establish a fresh three-reset delay for every player. Follow the next step currently available on your Guardian.
Does the quest guarantee Finality’s Auger?
The focusing unlock and owning the Exotic are different milestones. Do not treat a base clear or the quest checklist as a guaranteed weapon-acquisition package.
Is the Catalyst finished when I obtain it?
No. The current Catalyst has a separate 400-defeat objective. Complete the tracked progress and apply the upgrade.
Does a normal dungeon service include this whole quest?
The published base dungeon clear excludes optional quest, collectible and secret-chest work. Select it for the named dungeon objective only.
Do Catalyst packages finish The Drowning Labyrinth for me?
Both named Finality’s Auger Catalyst packages require the weapon already owned and The Drowning Labyrinth complete. The prerequisite quest is not included.
Sources and Review
Reviewed October 15, 2026. Current Bungie quest and objective definitions establish the eleven-stage order, cumulative counters and final handoff. Official records distinguish focusing and Catalyst progress. The compact landmark and code reference is attributed to the illustrated player walkthrough; suggested progress checks are original guidance. No fresh CFNBoost gameplay recording or universal bug-free route is claimed.